
Websites
Website Fundamentals
How to Create a Website
Navigate to the Uniweb dashboard.
Click Create.
Select website.
Pick your preferred template or Site Foundation.
Enter a name for your website and optionally add more languages or specify a dynamic content input. You can always change this later.
Click Create website.
What Are Site Foundations?
Site Foundations are the fundamental part of Uniweb sites that makes them scalable, robust, and easy to use. Every site uses exactly one Foundation.
Each Foundation comes with a selection of components. Think of common sections on a website, most Site Foundations will come with: Hero sections, Call-to-action sections, Feature sections, Highlight/callout sections, and many more depending on the library.
Each of these components comes with a selection of presets that change the look and feel of a section. Take a hero section for example, it could have: Centred content, Left-aligned content, Right-aligned content, Interactive with video, Carousel, and more.
Presets allow you to quickly change up how your content is displayed on your website, but you can have more control with easy settings that let you configure various things depending on the component and Site Foundation you’re using.
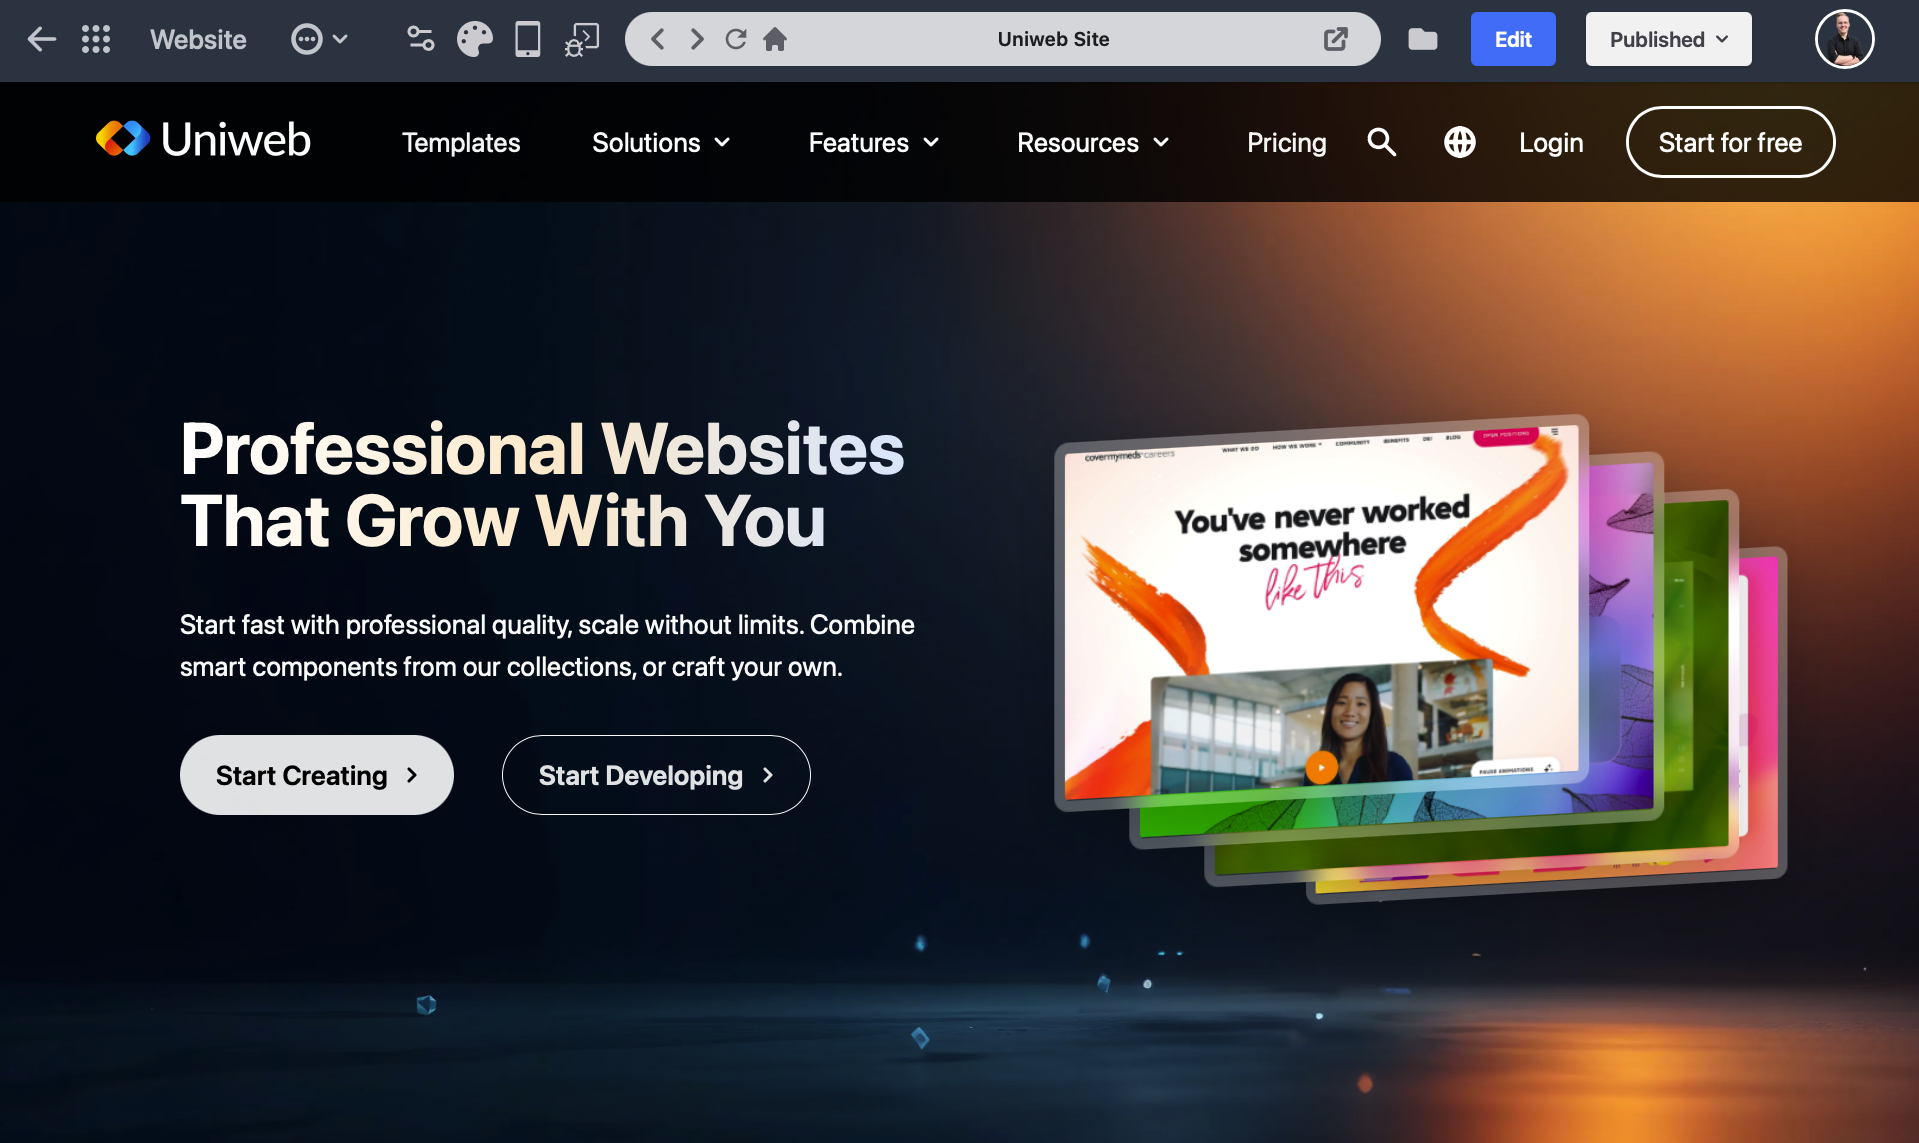
Website Studio Overview
The website studio is where you can manage all the global settings of your website. You can access it by clicking the name of the website in the content manager interface, or it will be in your recently edited.
Website Studio Menu
Across the top bar, there are a number of useful tools and menus, from left to right:
Back arrow and Waffle Icon

As like anywhere on Uniweb, the back arrow takes you back to the page you were previously on. The waffle icon allows you to quickly access the Uniweb menu to go back to home or any of your favourite pages.
More settings

Access some settings about your site, including:
Download form submissions if you have any on your website;
Edit the cover image;
Manage published languages;
Check or change the library your website is using;
Share with collaborators;
And delete your website.
Settings, Theme, Mobile Preview, and Library Settings

Settings
This button opens up a little menu that lets you configure the basic settings of your website: configure your domain, change the favicon and slug, select public languages, add a GA4 tracking ID, add a title and description, and change your live content input.
Theme
Change your colours and fonts across your whole website with this menu.
Mobile Preview
Click this button to see a shrunken version of your website so you can see how it will look on phones and smaller devices.
Library Settings
This is where you can change your component library if you wish, and access a custom URL if you’re bringing your own library.
Address Bar

This shows you what page you’re on with quick actions to go back a page, forward a page, refresh the page, navigate back to home, or pop out the preview into a new tab.
Profile Icon

Generally, this will be a folder unless you’re working with a profile-powered site. The icon allows you to navigate back to the linked content profile to make changes.
Edit

Fairly self-explanatory, this button takes you to the website editor so you can edit your content.
Publish / Published

If your website is still in draft mode, the button will show as publish, once you’ve already published, it will switch to published. Clicking it will allow you to publish/republish as you make changes. Once you click, you may be prompted to select a website plan or change your plan if necessary.
This menu also lets you put your website in construction mode so visitors will see an under construction message instead of your site if you want to take some time to make more exhaustive changes.
Website Preview
The majority of the Website Studio is a preview of your website. You can always see and preview your changes before it goes live. This will always be visible to you no matter what your publishing status or website plan is.
- Previous
- Websites